


Thinking about cutting your own bangs tonight? Take a breath first. Bangs can transform your whole look in minutes, but one wrong snip and you are stuck staring at the mirror in regret. The good news is that with the right prep, tools, and technique, you really can get salon looking results at home. This guide walks you through the exact steps to cut bangs safely at home, plus the mistakes almost everyone makes the first time. Once you’ve mastered your new fringe, check out these How to Style Short Hair tips for easy ways to make your fresh haircut look polished every day.
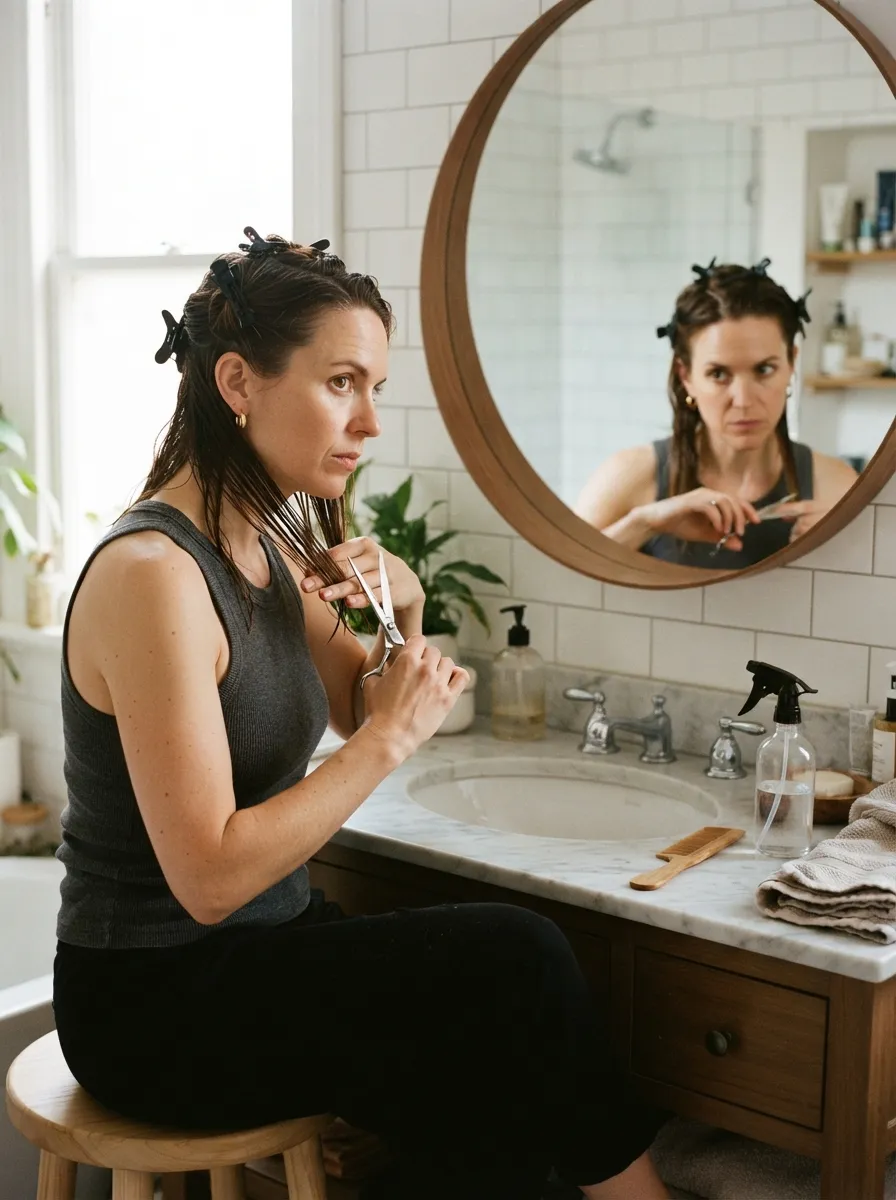
Gather the Right Tools First
Never use kitchen scissors. Dull or wrong angled blades crush the hair strands instead of slicing them, leaving you with frizzy, uneven ends.
Here is what you actually need:
- Sharp hairdressing shears (not regular scissors)
- A fine tooth comb
- Sectioning clips
- A spray bottle with water
- A handheld mirror to check the back
Having the right tools ready before you start saves you from rushing mid cut, which is where most mistakes happen.
Start With Dry Hair, Not Wet
This is the biggest mistake people make. Wet hair looks longer and straighter than it really is. Once it dries, bangs shrink upward and can end up much shorter than planned.
- Always cut on dry, styled hair
- If your hair is curly or wavy, let it fall naturally before cutting
- Only slightly dampen hair if you need to tame flyaways, never soak it
Section Your Hair Correctly
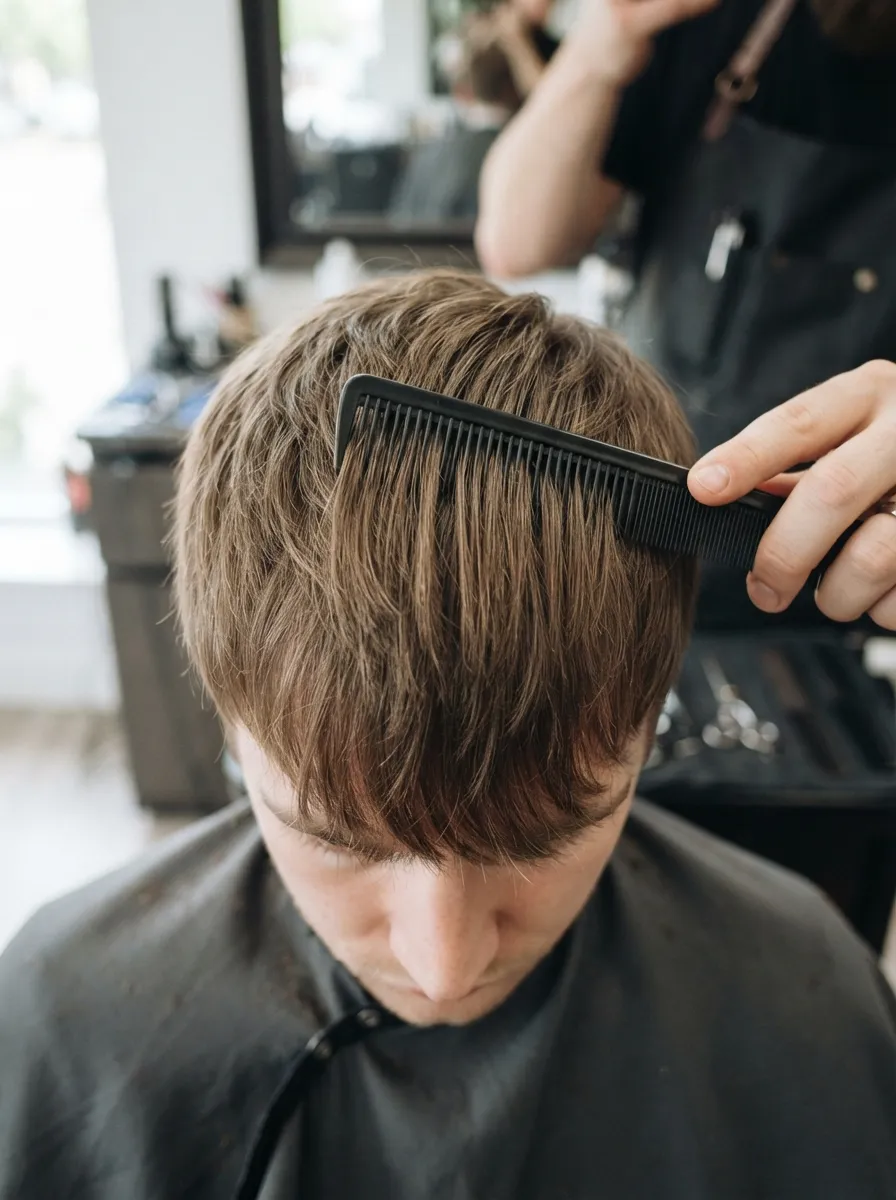
Bangs should come from a triangle shaped section, not just a straight chunk of hair.
- Start the triangle point at the crown
- Bring it down to the outer corners of your eyebrows
- Clip back the rest of your hair so it does not get mixed in
This triangle shape ensures the bangs blend naturally into the rest of your hairstyle instead of looking like a random patch was cut off.
Cut Less Than You Think You Need
Confidence is great, but with bangs, patience saves you. Cutting too much in one go is the mistake that ruins most at home attempts.
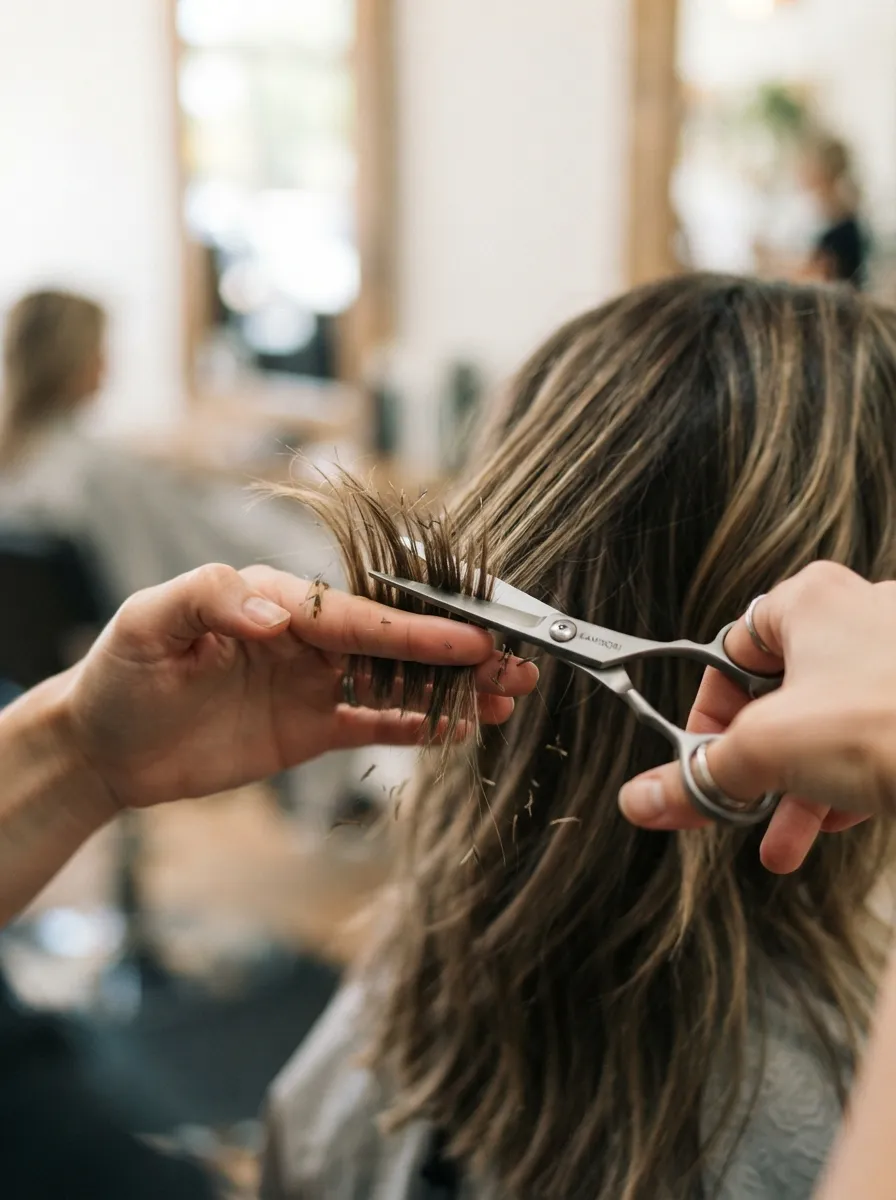
- Hold the hair between two fingers, pointing down
- Cut about half an inch below where you actually want the final length
- Use small, vertical snips instead of one straight horizontal cut
Vertical snipping creates soft, feathered ends that look more natural than a blunt line straight across.
Check, Then Trim Again
Do not try to finish everything in one pass. Bangs are one of those cuts where less is more, at least at first.
- Let your hair fall naturally and check in the mirror
- Compare both sides for symmetry
- Only trim a tiny bit more if needed, never rush to fix uneven length by cutting a lot at once
If one side looks longer, resist the urge to keep chopping evenly. Small adjustments, checked repeatedly, prevent the dreaded stair step effect.
Blend the Edges for a Natural Finish
Once your length feels right, the final step is blending so the bangs do not look chopped off from the rest of your hair.
- Use the point cutting technique, snipping upward into the ends at an angle
- This softens the line and removes any blunt edge
- Comb through and check how the bangs move with your hair

Style to See the Real Result
Bangs often look different once styled compared to right after cutting. Use a round brush and blow dryer, or simply let them air dry into their natural pattern before deciding if you need any more trimming.
- Blow dry directing the bangs slightly to the side or curved inward
- Avoid judging the cut on damp, unstyled hair
- Give it a day to settle before making further changes
Common Mistakes to Avoid
- Cutting on wet hair
- Using dull or kitchen scissors
- Cutting one straight horizontal line
- Trying to fix unevenness by cutting too much
- Skipping the point cutting or blending step
Final Thoughts
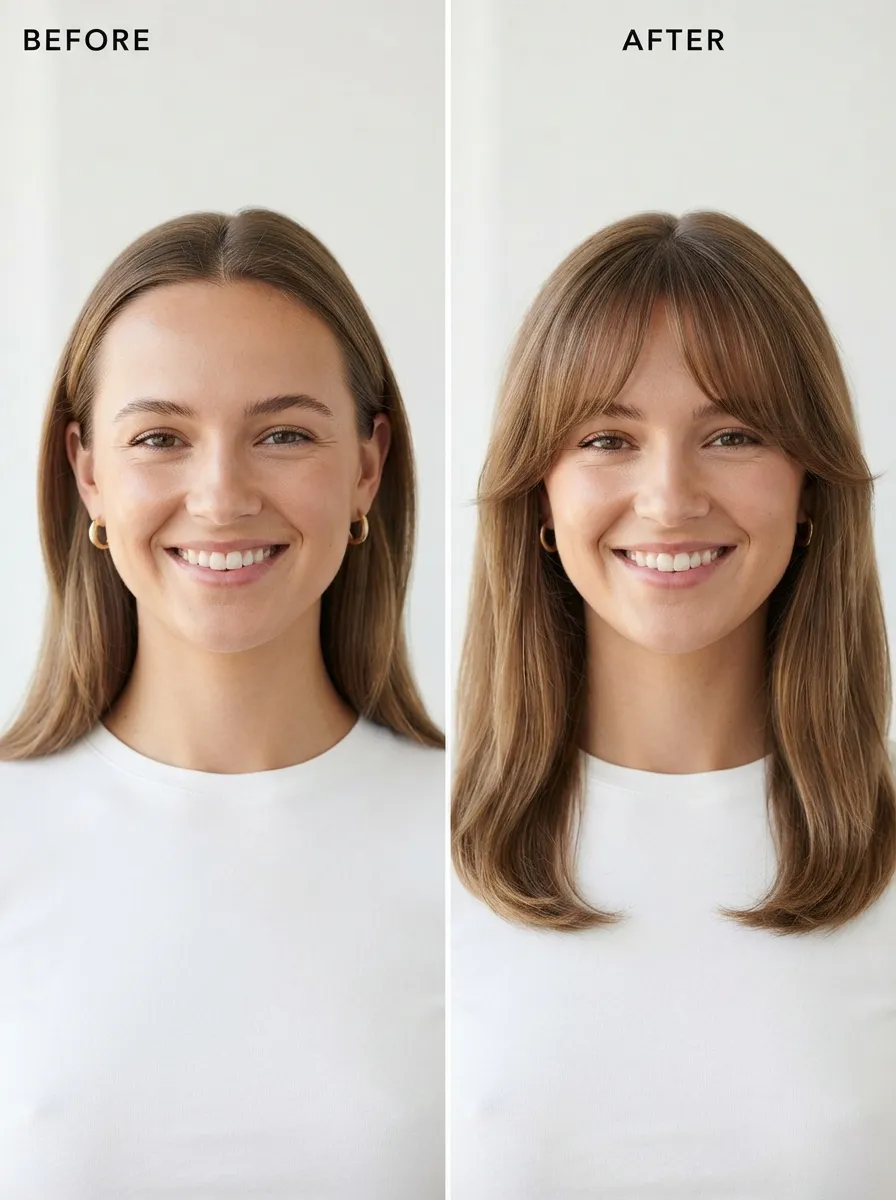
Cutting your own bangs at home is completely doable if you slow down, use the right tools, and trim in small amounts. The key is patience. You can always cut more, but you cannot glue hair back on.
Save this guide for the next time you are tempted to grab the scissors and go for it yourself.