
Learning to braid can feel intimidating at first, especially when your fingers just will not cooperate the way you see in tutorials. The truth is braiding is a skill anyone can pick up with a little patience and practice. Once you understand the basic motion, you can build on it to create dozens of different styles. Here is a simple, step by step breakdown that will get you braiding with confidence in no time. If you have thick hair, don’t miss our How to Style Thick Hair guide for expert techniques to reduce bulk, enhance movement, and make the most of your naturally full hair.
Start With the Right Prep
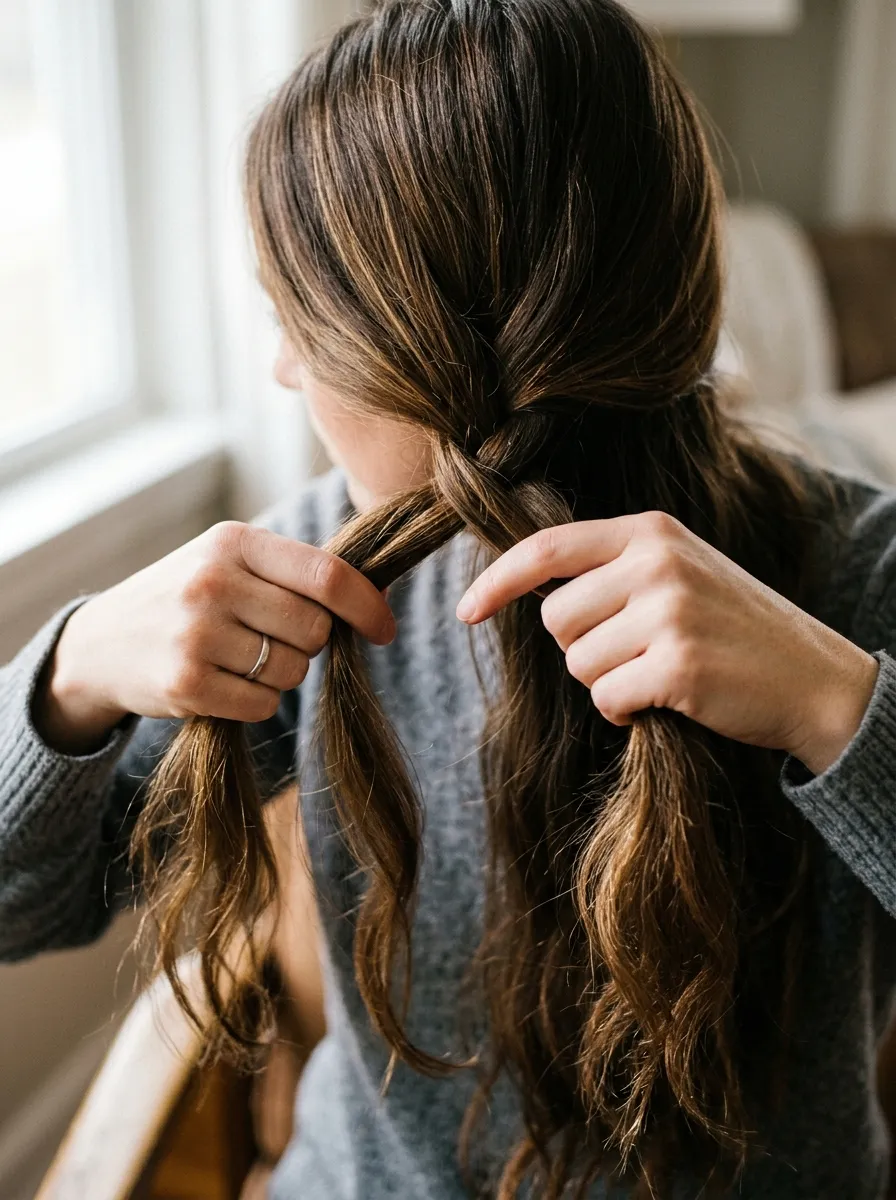
Before you attempt your first braid, a little prep work makes the whole process so much easier, especially as a beginner.
- Brush hair completely smooth to remove tangles
- Apply a small amount of leave in conditioner or texturizing spray for grip
- Slightly damp or day old hair holds a braid better than freshly washed, silky hair
- Work in front of a mirror, or better yet, two mirrors if braiding your own hair
Getting your hair prepped properly means fewer flyaways and a much cleaner looking braid once you finish.
Step One, Section Your Hair
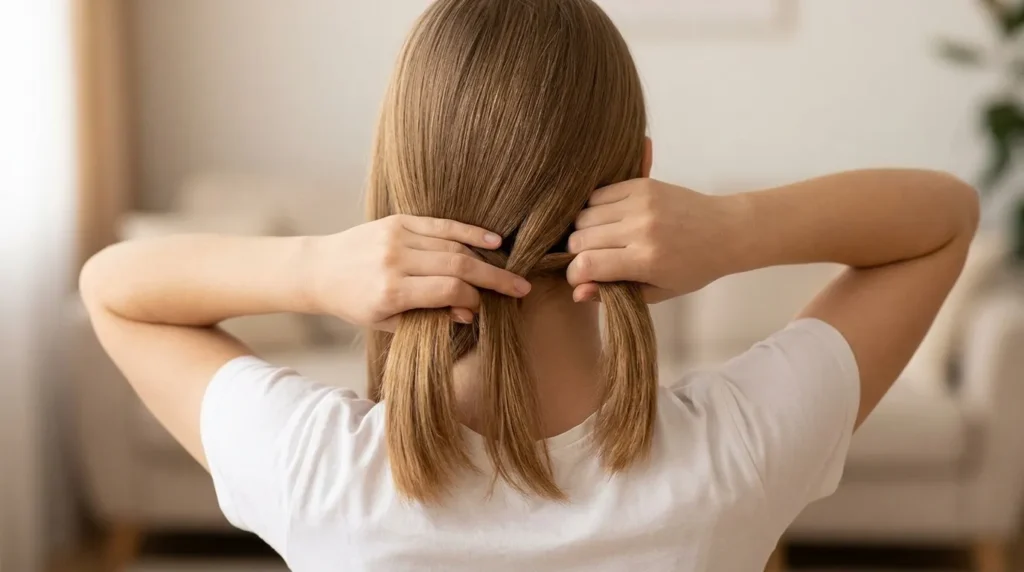
Every braid starts with dividing your hair into three even sections. This sounds simple, but even sections are the real key to a neat, symmetrical braid.
- Gather all the hair you want to braid into one ponytail or section
- Split it into three roughly equal parts, left, middle, and right
- Hold all three sections firmly, keeping tension even
If your sections are uneven, your finished braid will naturally lean or look lopsided, so take a moment here even if it feels slow at first.
Step Two, Learn the Basic Crossing Pattern
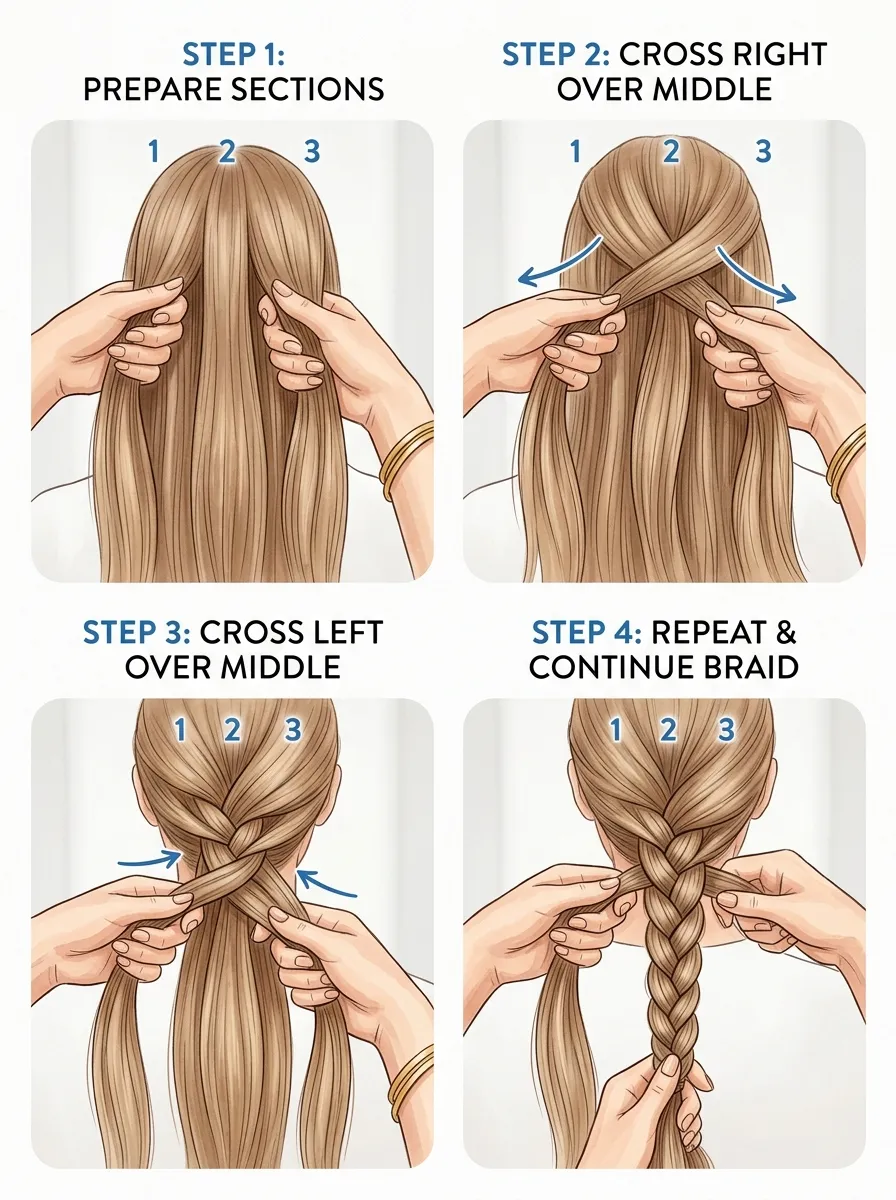
The classic three strand braid follows one repeating pattern.
- Cross the right section over the middle section, so it becomes the new middle
- Cross the left section over the new middle section, so it becomes the new middle
- Repeat this same right, then left pattern all the way down
Say it out loud as you practice, right over middle, left over middle, since the rhythm helps beginners more than watching silently ever does.
Step Three, Keep Tension Consistent
One of the most common beginner mistakes is pulling too tight in some spots and too loose in others. Consistent tension is what makes a braid look smooth and professional rather than messy.
- Hold each section firmly but not painfully tight
- Pull each cross snugly before moving to the next
- Try to braid at the same pace throughout instead of rushing partway through
If your braid looks bumpy or uneven, it is almost always a tension issue rather than a pattern mistake.
Step Four, Secure the End
Once you reach the end of your hair, you need to lock the braid in place so it does not unravel.
- Continue braiding as close to the ends as possible
- Secure tightly with a small hair elastic
- Gently tug on the outer edges of the braid to add fullness if desired

This final tug and loosen step is optional, but it gives a fuller, more polished look, especially for photos or special occasions.
Common Beginner Mistakes to Avoid
Almost everyone struggles with the same few issues when they first start braiding, so do not get discouraged if these sound familiar.
- Losing track of which section is which, slow down and double check each cross
- Uneven sections, which cause the braid to twist to one side
- Braiding too loosely, which causes the pattern to fall apart quickly
- Rushing through instead of practicing slowly at first
Practice on a doll head, a friend, or even a length of thick yarn if actual hair feels too frustrating at first. Muscle memory builds faster than most people expect.
Final Thoughts
Braiding is one of those skills that feels impossible until suddenly it clicks, and then you wonder why it ever felt hard at all. Take it slow, focus on even sections and consistent tension, and give yourself permission to practice more than once. Save this guide for later so you always have the basics ready whenever you want to braid your hair or someone else’s.